How to Paint Watercolor Black-Eyed Susans
Disclosure: This post may contain affiliate links, meaning, at no additional cost to you, I will earn a commission if you choose to click through and make a purchase.
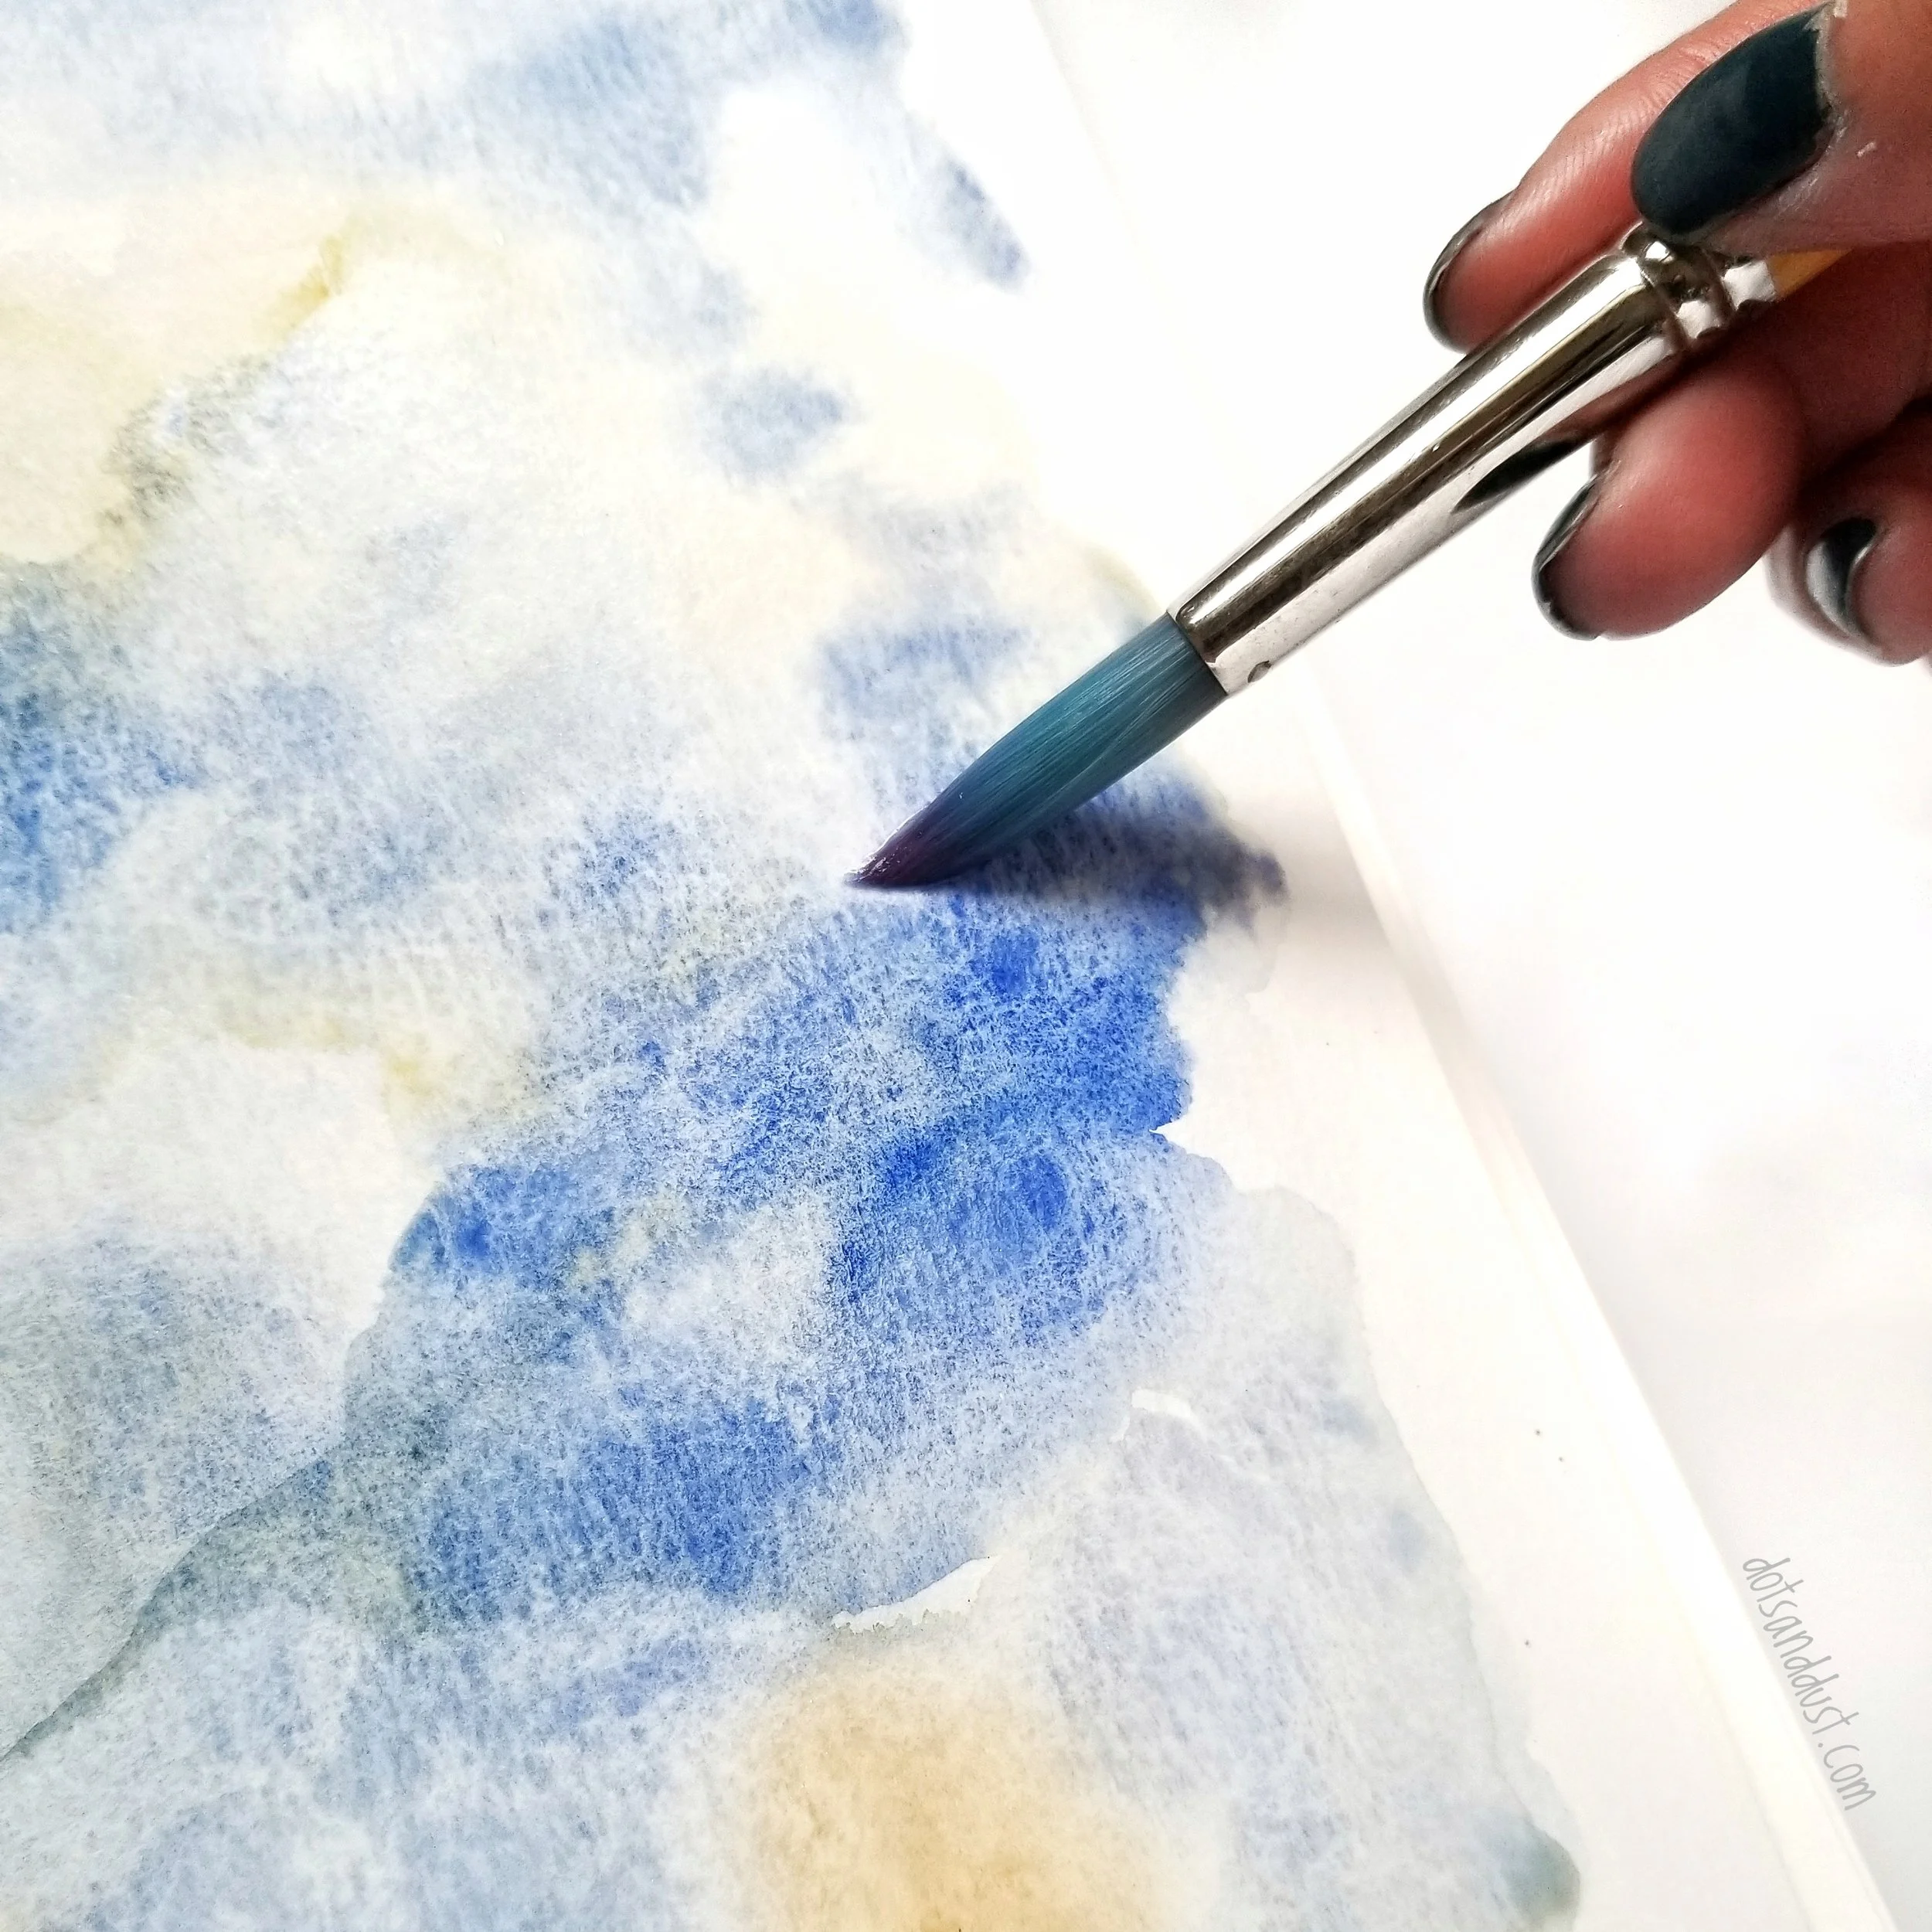
The easiest way to add simple elegance to any of your bible journaling entries is to add in some watercolor flowers. Today, I am showing you how uncomplicated it can be to paint these gorgeous watercolor black-eyed susans.
Supplies Needed:
Round Watercolor Brush in a size 6 (Princeton Snap! Brush)
Watercolor paint in shades of black, yellow, orange, and green
Cup of water & sheet of paper towel
Start off by loading your watercolor brush with clean water and then dipping it into your black paint. Here I am using Dots & Dust watercolor in Limo Service. Place your brush perpendicular to the page and lightly create small dots close together creating a cone shape for the center of your flower.
Clean off you brush in your cup of water and then dip it into an orange-yellow hue (I mixed a bit of Pencils Down & Dreamsicle).
Looking at black-eyed susans from a side profile, you can see the petals all curve downward. To create these, you want start by pointing your brush towards the center of the flower. Now, lightly drag and then apply light pressure to gradual medium pressure and then slowly back up to light pressure to finish off the petal. Repeat for all of your petals. Keep in mind to always start a petal with your brush pointing towards the center of the flower.
For the stem, clean your brush in your water and pick up a yellow-green color (I am using a mixture of D&D Pencils Down & Recess Rebel). Point the bristles perpendicular to your page and, using the tip, lightly and quickly drag the brush down. If you really want a thin stem, you may want to practice this on a separate piece of watercolor paper first. The less you think and the faster the stroke, the easier it is. But don’t forget, practice always makes progress.
Your leaves will use the same "light-medium-light" brush stroke that you used for the petals. The only difference is that the stroke will be much longer and drawn out for these leaves.
Viola! Finished! You can add a few flowers like I did or fill your entire background with these cuties.
What do you think? Will you try this one out? Let me know if you do! And be sure to use the hashtag #dotsanddustwatercolor when you share it on social media.


